Hi, you all!!
This is a long overdue post, I really took my time with my project and now I am so proud of how it turned out.
Teaser photo:

It was not easy, though, it took a lof of changing my mind, experimenting, trying to find the time to do it, as with two young daughters that don't stay put for a second, it is preety difficult. I've started this project I think three weeks ago or so, normally I'd finish it sooner, but my skedule didn't allow me to speed up the process.
Teaser photo:

Don't scroll down!!:)
I have a handful of blogs I read with pleasure. Home decor blogs. Kelly from Jax does design is really a source of inspiration for me. I found her a while ago and she is one of the reasons I got the courage to go into DIY. So, thank you, Kelly!!
This post is going to be a very long and detailed one so you'd better prepare :))
It all started with Ikea. I had never been there until I had to go to spy the bedroom for the girls' room. I was satisfied with the quality so after a week I went there to buy the bedroom... I bought something else too... I bought this:

It's made of untreated wood, which allowed me to paint!! Yeeey, I love painting!! It relaxes me a lot!! Already having exercised my assembly skills with the girls' bedroom, I took a shot at assembling it, and succeeded! They say two people should assemble it, but I managed to do it alone and quietly while the girls were napping! I wanted to color him a bit and chose a red wine color from Kober. I wanted to be a bit more colorful, and I wasn't really excited with the color, but hey, you work with what you've got! After the first coat I let it dry and then sanded; it looked like this (and sorry for the quality of the pictures, I painted it during the night after the girls went to sleep)

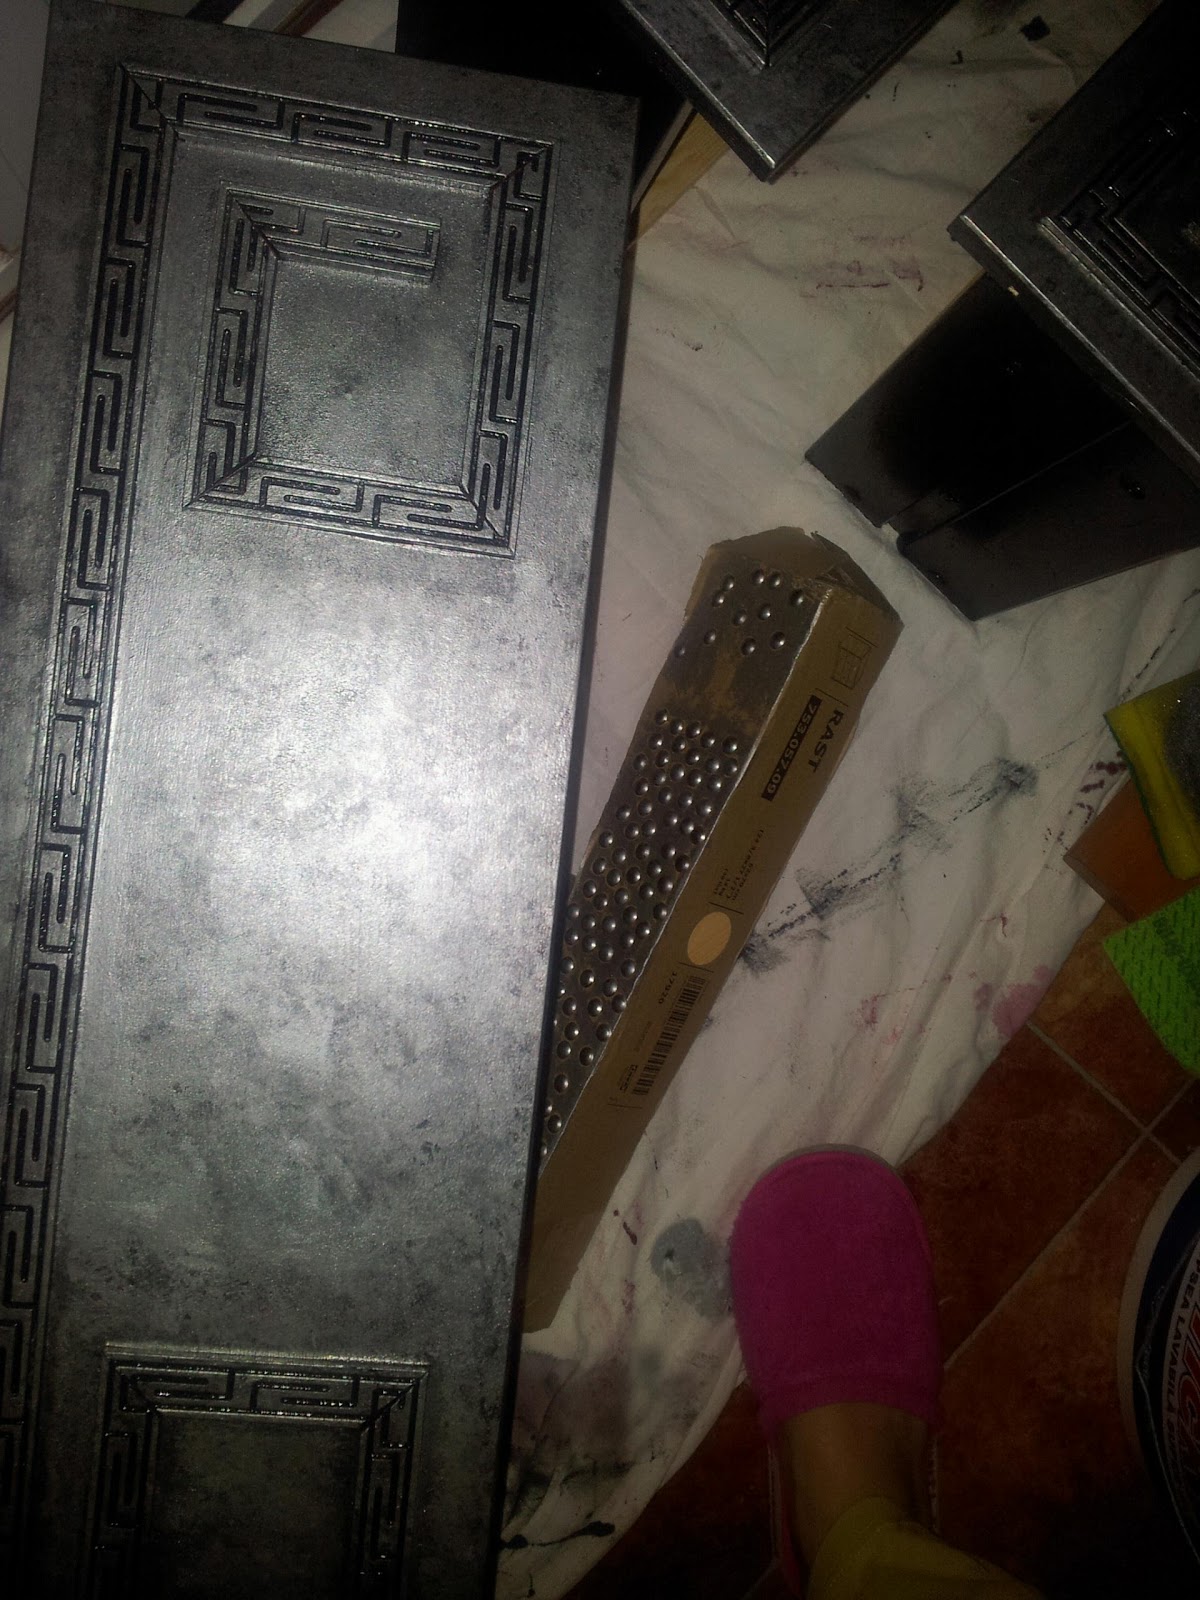
I had plans to style it up a bit, as it was way too plain, and I ordered over the internet some of these:


These strips of decorated wood are sooo nice. I oredered them from this place: Naturtrend. They were a bit pricey but they definitely served their purpose of styling up my Rast! It went from looking like this:

to this:

I had to cut those strips of wood, and it was not an easy job, as it required both strenght and skills, so I kissed my hubby again, marvelled at his muscles this thime :)) and he helped me. He made some metal thingy which helped him cut the wood at a 45 degree angle, it took a while but the result was great! Yeeey, hubby!

This is his metal tool for cutting at a 45 degree angle ( and a piece of my old pyjamas..)
We glued the strips to the drawers, and it started to look great! It really started to come together! I was suuuper excited!!


Very professional of me, I added my daughter's soy milk and the softener to hold in place the strips of wood!! :)) Oh, and a lot of Disney books!! :)

The result at this stage was nice, don't you think?


Next it was time to paint again! I painted the drawers the same red wine color.


The color seems so different because of the light. Painting took place in my tiny balcony, it was preety unconfortable, but hey, I'm not complaining!!


Ozana, your Romanian Rast looks fantastic! I love it! In fact, I love your Greek Key trim even more than the trim I used on my Rast hack. The texture of the wood really accentuates the zinc finish. And so cool that the pulls you selected are similar to mine - in fact, I considered using those pulls as well :-)
ReplyDeleteIf you don't mind, I'd love to share your Romanian Rast on my blog :-)
I'm so honoured that you enjoy my blog and are inspired by my projects :-) That's what it's all about, inspiring and being inspired by each other :-)
Awesome job!
Thank you, Kelly, I appreciate you taking the time to read my post. I would be honoured if you shared my work on your blog. I'm so thrilled!!
ReplyDeleteKisses from Romania!!
Girl, consider yourself contacted, I want that... But I hope kissing your hubby is not a requirement!
ReplyDelete:)))))) No, not a requirement!! I'll do the kissing!:))))))))))
ReplyDeleteGuai your romanian roast is very beatifull !!!the texture of the wood is fantástic . You are genius!!!!
ReplyDeleteI love love your work!!!
Thank you, Angelica!! You're so kind!!
ReplyDeleteHeyy, my dear!!
ReplyDeleteI had the patience to scroll it and read it till the end!!
Great job!! i am amazed you had the time to do it, especially with Katia and Sophia around you there...
Ioana Stancut :*
That's why it took me three weeks instead of three days... But the truth is I like doing these projects soooo much, I find the time, even if I stay up until 2 in the morning to give one more coat of paint...
ReplyDeleteIt is truly a nice and useful piece of info. I am glad that you shared this useful
ReplyDeleteinformation with us. Please stay us informed like this.
Thank you for sharing.
My web site
Ma bucur foarte mult ca ti-am gasit blogul! Ma tot uitam pe bloguri si video cu diy din strainatate, dar acolo folosesc tot felul de materiale super la care noi romanii nu avem acces... :(
ReplyDeleteFaptul ca tu faci lucrurile astea grozave imi da curaj. Deci, se poate, si de-abia astept primavara sa ma apuc de treaba. O sa schimb tablia patului (ma bate gandul de un an, dar numai acuma am reusit sa terminam dormitorul). Sotul meu si-a adus "zestre" un pat de le Lem's, din acela simplu, cu tablie din pal , pe care o urasc. Asa ca , la primavara o sa-l tapitez cu burete si piele ecologica, si o sa-i schimb tablia. Imi place mult si comoda de la Ikea, eram convinsa a e ceva chestie antica super scumpa... E superba ! ! ! Spune-mi te rog, ce fel de vopsea metalizata ai folosit: de masina, bronz, spray? Eu am o rama pe care vreau s-o vopsesc argintiu antichizat si nu stiu ce materiale sa folosesc. Si inca ceva: cum se curata tablia de la pat daca e din material si nu din piele? Ma gandesc ca la un moment dat o sa se murdareasca, vreau sa incerc sa fac si eu una din material, dar nu stiu cum sa o curat cand vine momentul. Cu sampon de covoare? Multumesc si An Nou Fericit!
Buna, ma bucura comentariul tau!
ReplyDeleteVopseaua metalizata e doar bronz din acela, ieftin, care exista pe argintiu si auriu, aplicat cu zgarenie, in straturi succesive:)
Tablia de pat o curat cu aspiratorul, se poate curata si cu aspirator din acela cu apa, sau sa chemi o firma de curatenie, o face f fain! Daca folosesti piele, se va curata super usor!:)
In primavara ma apuc si eu de diy uri, din nou, am cam tras chiulul!::)))
La multi ani!
Ozana