Happy Monday, friends!! I hope you got a good start the first day of this week!! My week started with some rain and a bitten coffee table !! (yes, my youngest one thinks she's a dog... and it would be hilarious if it weren't so heartbreaking for me to find my ASCP coffee table scratched...) So, to lift up my spirit I decided to take a few shots of my happy entryway!! And to show you what I've been up to this past two days!! For those of you who were afraid my house would be sterile and all black and white, feast your eyes on this color madness:

Let's call this shot a "in progress" one, because I still need stuff in here, like that big mirror, I've been dreaming of, some lighting , art and... well, we'll see!! See anything new in the picture? It's my old small table turned tufted stool!!
So, this is what happened: I took this old coffee table from my mother-in-law's, hubby made a face when he saw me, thought I'd use it for the outdoors:))

This is what the table looked at first. I measured where the buttons would go, then drilled the holes all by myself!! I was for the first time I did it and I must say I loved it!! Talk about power rush!!:))


Smokin' hot!!:)))
Then I started paiting using Annie Sloan Chalk Paint- Provence, and after 2 coats I decided it would be too matchy-matchy for my taste and I started experimenting...again!!


I mixed some violet and magenta (Savana) and got some bright purple, applied a coat and afterwards decided I wanted it darker... (a very indecisive day for me, that day!!)

So, the stool got 4 coats of paint, even though 2 would have been more than enough with Annie Sloan paint, I already professed my love for this paint, bummer I cannot find it here, in Romania..... At the end I applied a generous amount of Dark wax, told you I was going for a dark purple!!
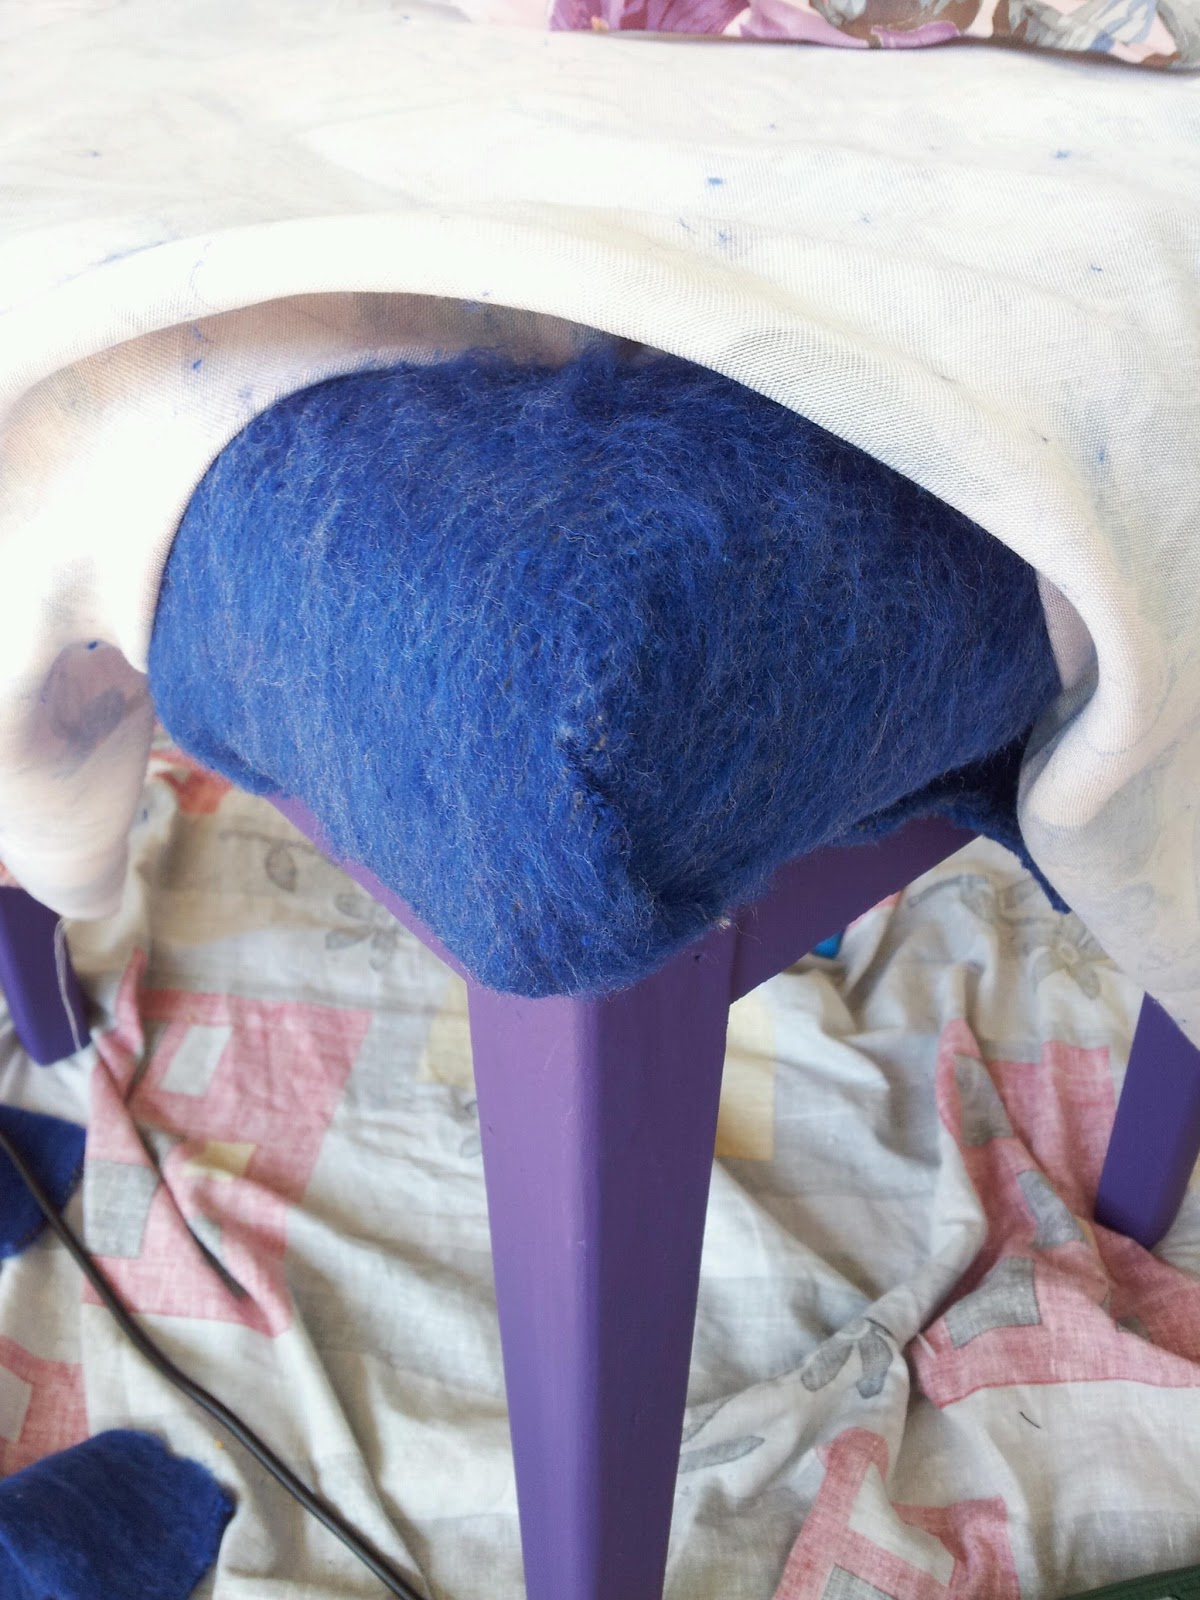
Next I cut holes into the 5 cm thich foam I prepared for this project, I did this using the scissors, put the scissors open on the foam, pushed, and made the cut inside the foam.


Over the foam I used a thick padding, this time I found a blue one. The fabric comes on top, and then it's time for the buttons, I used the same fabric to cover the buttons, I didn't have that special kit, I did it using a needle and upholstery thread. I only had 5 buttons to cover, so it went on fast!!
Starting from under the table, I passed the large upholstery needle through the hole, the foam and the padding and fabric, and stapled under the stool, pulling taut, so you get a deep tuft.

Use a screw-driver, so you don't kill your hands!!

After doing all 5 buttons I started stapling the fabric, paing attention at the corners: I cut a V-shaped part off the padding and stapled nicely so that I got a nice soft corner.

I stapled the sides first, leaving the corners last, so that I could arrange them nicely. At the end I applied a strip of fabric using some upholstery nails to get a clean finish.

Here are a few shots of my entryway now, hope you like it!


I'm on the hunt for a basket or two to put under the stool, to add more texture and coziness to the entry foyer, plus I got my eye on a antique brass chandelier...I can hardly wait!! Here is the before/after shot:


So, what do you say, do you like my coloured entry hall?? Do share!!
xoxo,
Ozana
Amiga te estas poniendo una experta en DIY, me encanto como lo explicaste… que tengas una linda semana
ReplyDeleteGracias, amiga!!
ReplyDelete